Getting started with Adobe Illustrator
Illustrator is one of the essential tools for graphic designers. But can be pretty overwhelming when you first start using it. The default interface is so crammed with buttons, sliders, and other assorted tools, that it’s hard to know where to begin.
Please note that the of Ai version used by you may be different to mine. Hence some interface elements may NOT look the same.
1.1 Create a new document
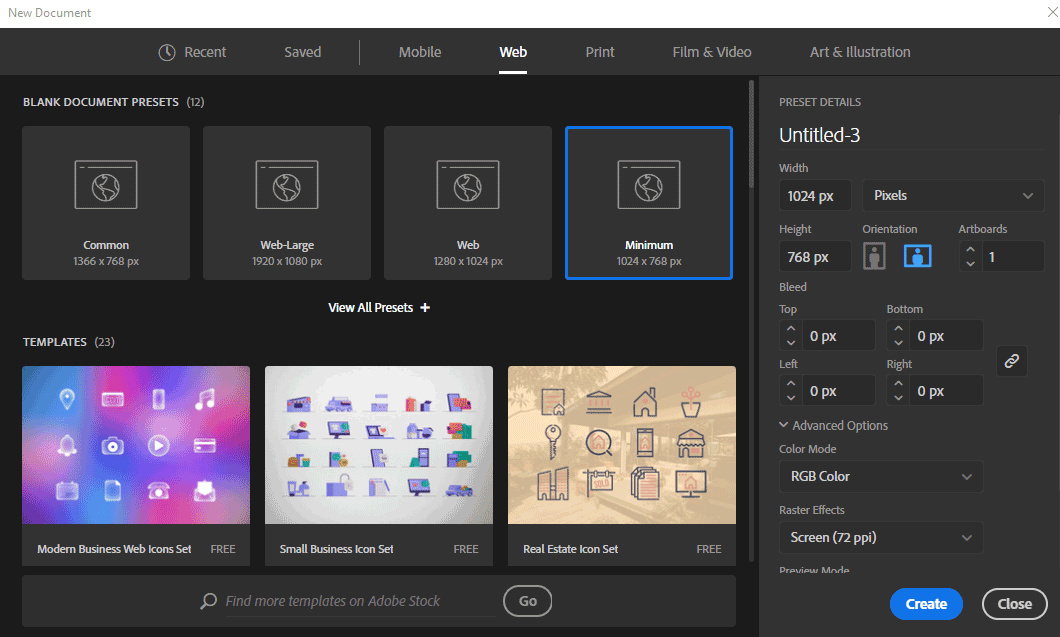
Go to “File” menu and select “New”. Select “Web” tab, then “Minimum”.
- Width/Height of the image can be set by pixel, inches, mm or cm
- Resolution is pixels per inch or cm
- Color model can be RGB (for web) or CMYK (for print)
- Color profile can be sRGB
- Try save, save as & use ai and pdf formats. You ‘ll need Illustrator to open ai files but pdf can be opened with Adobe Acrobat Reader (free product from Adobe)
1.2 Setting up the environment
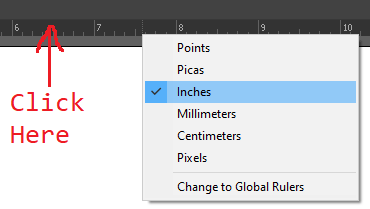
Turn on the ruler by going to “View > Ruler”.
Click on the ruler to change the unit, eg: “pixels”
1.3 Basic drawing
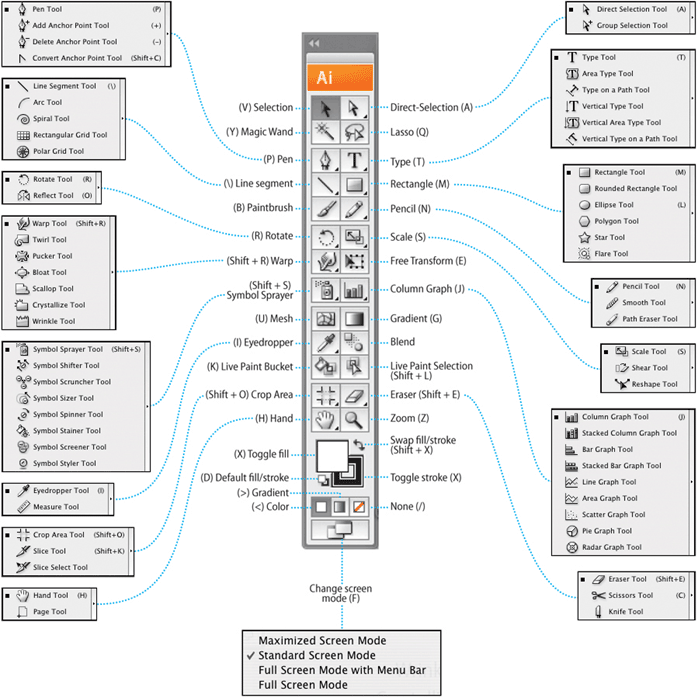
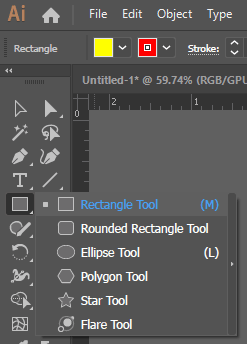
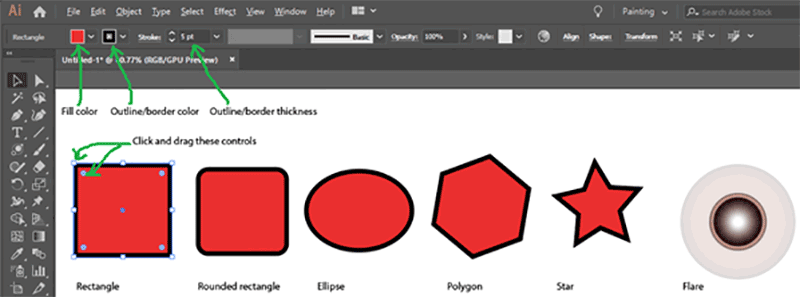
Start experimenting with fill color and outline colors. Draw with rectangle, rounded rectangle, ellipse, polygon, star. Use the “selection” tool to move objects on screen.
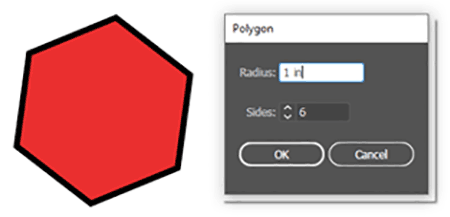
When you are drawing polygons and stars, you may use the up and down arrow keys to change the number of sides. Try clicking on the artboard and type the values for accurate measures:
1.4 Pen tool
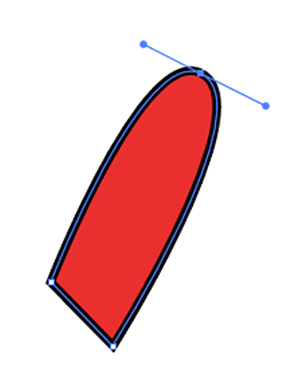
Use the pen tool to draw basic shapes. Use the “Direct selection” tool to distort/edit the shape. Try moving the control handlers.
1.5 Grouping and ungrouping
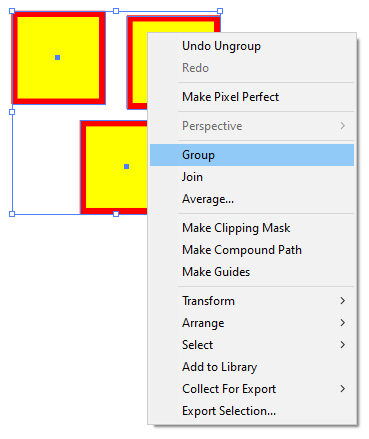
Select multiple object on the artboard by either click on each with the SHIFT key, or drawing a rectangle around them. Right click on the group and select “group”. A group can be moved together. You may right click again to “ungroup” it.
1.6 Study the layers
When you start, Illustrator you will notice the layers are already grouped. Try dragging them up and down. Also use the right-click “send to back” and “send to front” methods to understand the z-axis positions.
1.7 Experiment with Pencil & Different Brushes
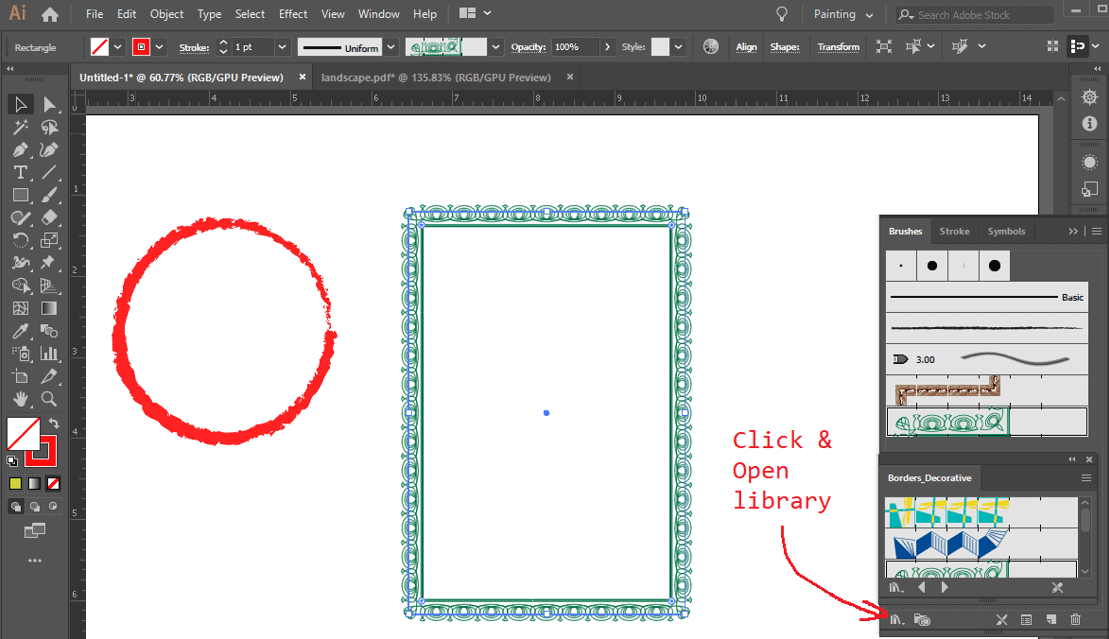
Goto Window > Brushes to open brushes, and Window > Stroke to change outline thickness. Try different thicknesses and styles.


