Part 2 : Constructing the body
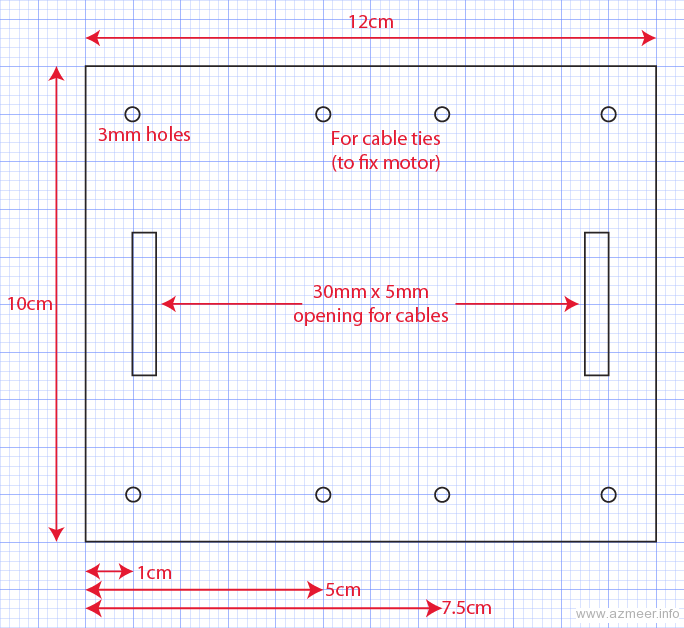
We decided the size to be 12cm x 10cm. We needed the space to fix the Arduino board and motor driver, at this point the boys wanted to install a knight rider light system as well – just to add some visual effects. So the space is required to fix that circuit as well. I wanted to offload that to a good old 4017 IC.
We ended up making 2 floors. We used 3mm drill bit to make the holes. The nut and bolt were 2″ height with 1/8″ thickness. We used plastic tubing (cut from pens) to get to room required.
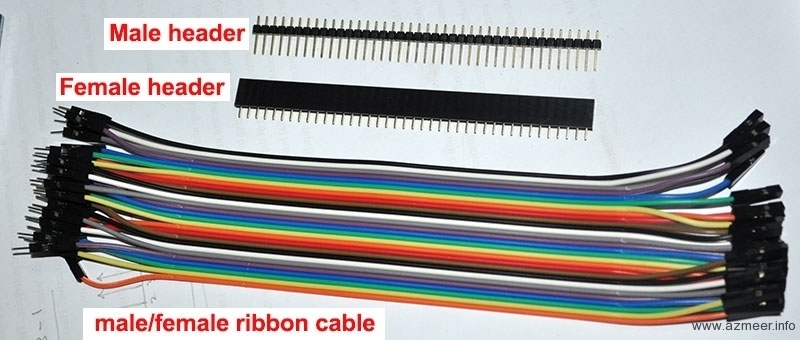
We used 0.1″ male/female headers to connect various boards; this is to support the reuse of parts. The colored ribbon cable was very handy to keep the cables under control.


Comments are closed.